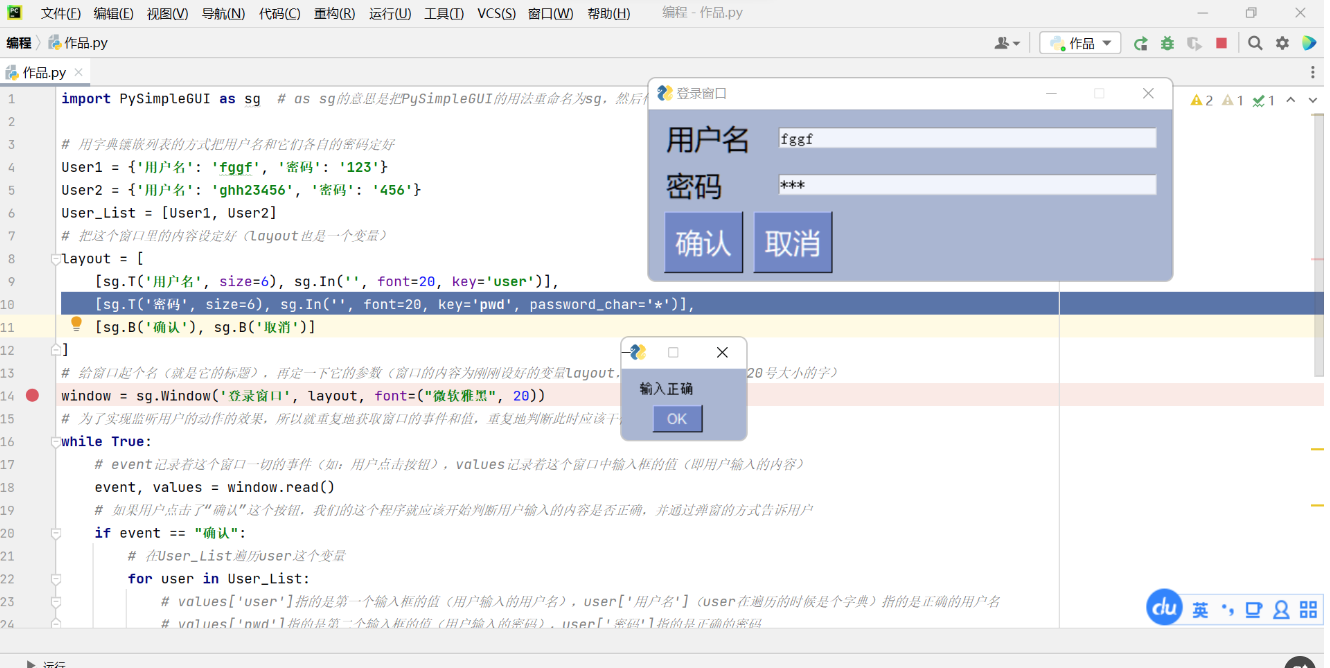
一、前端登录界面的实现
html<!DOCTYPE html><html lang="en"><head>
    <meta charset="UTF-8">
    <meta name="viewport" content="width=device-width, initial-scale=1.0">
    <title>Login Page</title>
    <style>
        body {
            font-family: Arial, sans-serif;
            background-color: #f5f5f5;
            display: flex;
            justify-content: center;
            align-items: center;
            height: 100vh;
            margin: 0;
        }
        .login-container {
            background-color: white;
            padding: 20px;
            border-radius: 8px;
            box-shadow: 0 0 10px rgba(0, 0, 0, 0.1);
        }
        .form-group {
            margin-bottom: 15px;
        }
        .form-group label {
            display: block;
            margin-bottom: 5px;
        }
        .form-group input {
            width: 100%;
            padding: 10px;
            border: 1px solid #ccc;
            border-radius: 4px;
        }
        .form-group button {
            width: 100%;
            padding: 10px;
            background-color: #007bff;
            color: white;
            border: none;
            border-radius: 4px;
            cursor: pointer;
        }
    </style></head><body>
    <div class="login-container">
        <h2>Login</h2>
        <form id="loginForm">
            <div class="form-group">
                <label for="username">Username</label>
                <input type="text" id="username" name="username" required>
            </div>
            <div class="form-group">
                <label for="password">Password</label>
                <input type="password" id="password" name="password" required>
            </div>
            <div class="form-group">
                <button type="submit">Login</button>
            </div>
        </form>
    </div>
    <script>
        document.getElementById('loginForm').addEventListener('submit', function(event) {
            event.preventDefault();
            const username = document.getElementById('username').value;
            const password = document.getElementById('password').value;
            // Send login request to backend
            fetch('/api/login', {
                method: 'POST',
                headers: {
                    'Content-Type': 'application/json'
                },
                body: JSON.stringify({ username, password })
            })
            .then(response => response.json())
            .then(data => {
                if (data.success) {
                    alert('Login successful');
                    window.location.href = '/dashboard';
                } else {
                    alert('Login failed: ' + data.message);
                }
            })
            .catch(error => console.error('Error:', error));
        });
    </script></body></html>
二、后端登录验证的实现
javascriptconst express = require('express');const bodyParser = require('body-parser');const bcrypt = require('bcrypt');const jwt = require('jsonwebtoken');const app = express();app.use(bodyParser.json());const users = [
    { id: 1, username: 'user1', password: '$2b$10$...' } // 假设密码已加密];app.post('/api/login', (req, res) => {
    const { username, password } = req.body;
    const user = users.find(u => u.username === username);

    if (!user) {
        return res.status(400).json({ message: 'User not found' });
    }

    const isMatch = bcrypt.compareSync(password, user.password);
    if (!isMatch) {
        return res.status(400).json({ message: 'Invalid password' });
    }

    const token = jwt.sign({ id: user.id }, 'your_jwt_secret', { expiresIn: '1h' });
    res.json({ message: 'Login successful', token });});app.listen(3000, () => {
    console.log('Server is running on port 3000');});
三、数据库设计与用户验证
sqlCREATE TABLE users (
    id INT AUTO_INCREMENT PRIMARY KEY,
    username VARCHAR(255) NOT NULL UNIQUE,
    password VARCHAR(255) NOT NULL,
    created_at TIMESTAMP DEFAULT CURRENT_TIMESTAMP);
java@Mapperpublic interface UserMapper {
    @Select("SELECT * FROM users WHERE username = #{username} AND password = #{password}")
    UserBean selectUser(@Param("username") String username, @Param("password") String password);}@Servicepublic class UserService {
    @Resource
    private UserMapper userMapper;

    public UserBean login(String username, String password) {
        return userMapper.selectUser(username, password);
    }}
四、安全性考虑
密码加密:使用强加密算法(如bcrypt)存储和验证用户密码。
使用HTTPS:确保所有数据传输都通过HTTPS进行,以防止中间人攻击.
限制登录尝试次数:防止暴力破解攻击,可以通过限制登录尝试次数来实现.
使用JWT或会话管理:使用JSON Web Tokens(JWT)或会话管理来维护用户的登录状态。


